If you’ve never done an entire workout using just a suspension trainer before, we’ll warn you right now that it’s going to be harder than you think.
Your core never gets a break, as it must work to keep your spine and hips aligned throughout every movement. Of course, that means stronger abs and maybe even a sharper six-pack (assuming you’re not drinking too many six packs).
The following routine will give you a rudimentary understanding of how to use the suspension trainer to work every part of the body to train stability and strength, while challenging your conditioning with fast-paced circuits.
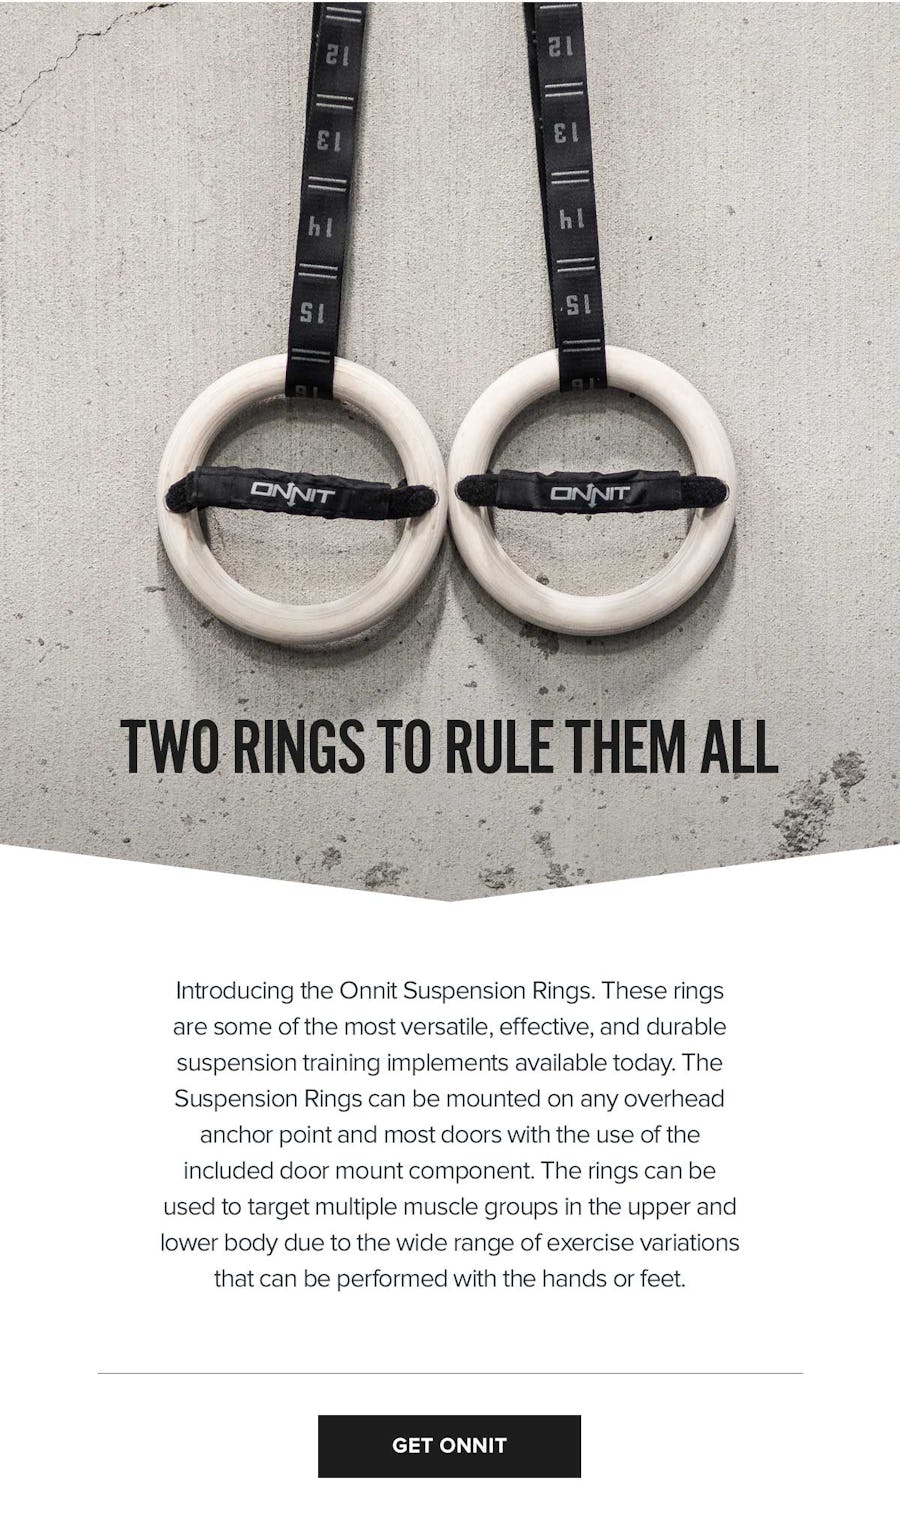
Perform it up to four times a week on non-consecutive days. Note that you’ll need a trainer that offers food cradles, as gymnastics rings alone won’t allow you to train the lower body. The new Onnit suspension rings—shown below—would be ideal (we’re just sayin’).
Try it for four weeks, and lifting weights just might seem easy by comparison.
Beginner Suspension Trainer Workout Directions
The workout has three groups of exercises marked “A,” “B,” and “C.” Perform the grouped exercises in sequence, spending 60 seconds on each exercise and taking 15 seconds to transition between moves.
Afterward, rest 90 seconds, and repeat the group for three total rounds. Then move on to the next group and complete it in the same fashion.
1A. Hip Extension Suspension Trainer Exercise
Adjust the straps so that the foot cradles are at about the level of your calves. Lie on your back on the floor and place your feet in the cradles so they’re suspended in air.
Brace your abs and drive through your heels to lift your hips off the floor (be careful not to hyperextend your lower back, which would mean your abs aren’t tight enough).
1B. Plank Suspension Exercise
Place your feet in the foot cradles and get into a pushup position. Lower your body to the bottom of a pushup—where your chest is about an inch above the floor.
Hold the position with your body completely straight and your ribs drawn down with abs braced.
1C. Warrior 2 (Right Leg then Left Leg 60 sec each) Suspension Exercise
Adjust one strap to knee height and place the top of one foot in the foot cradle. Draw your shoulder blades back and down, thinking “proud chest.” Now bend your hips back to lower your torso toward the floor, allowing your support leg to bend as needed.
When you’ve gone as low as you can without losing the neutral alignment of your head, spine, and hips, reach your arms straight overhead. Retract your arms and squeeze your glutes to return to the starting position.
2A. Hamstring Curl to Hip Bridge Suspension Exercise
Set up as you did for the hip extension exercise. Now bring your knees close to your hips, bending 90 degrees. From there, drive through your heels to raise your hips to full extension, but avoid hyperextension.
2B. Knee Tuck Suspension Exercise
Get into pushup position with your feet in the straps. Keeping your head, spine, and hips aligned, draw your knees to your chest.
2C. Warrior 2 (Right Leg then Left Leg 60 sec each) Suspension Exercise
Repeat as described above.
3A. Hamstring Curl to Hip Bridge Hold Suspension Exercise
Repeat as described above.
3B. Mountain Climber Suspension Exercise
Get into pushup position with your feet in the foot cradles. Keeping neutral alignment, alternate driving each knee to your chest. Avoid twisting or bouncing.
3C. Warrior 2 (Right Leg then Left Leg 60 sec each) Suspension Exercise
Repeat as described above.


)


