It’s not that hard to figure out how to work your chest without exercise equipment. Everybody knows what a pushup is. It’s no big thing to write yourself a leg workout either, as you can do bodyweight squats and lunges anywhere. Arms? Curl something. Even water jugs will work if you do enough reps. But training your back with no equipment at all is a little trickier. And we’re talking NO equipment at all. That is, nothing to hang from to do chinups or rows. Hell, even most convicts can do those lifts in their cells or prison yards. But if you live in a small, sparsely-furnished apartment—or you’re under quarantine—a home gym may be out of your budget, or just out of reach.
That’s why we contacted Sam Pogue, a performance coach in Boulder, CO (follow him on Instagram, @spogue86), and asked him to come up with a back workout that doesn’t require a single chinup or bodyweight row, and can be done in a small space—safely—with only the most common household objects on hand. He didn’t disappoint us.
Check out the at-home bodyweight back workout below, and, if you have the luxury of owning a light pair of dumbbells, give the db workout he designed that follows it a try as well. Either way, you’ll discover for yourself that you don’t need heavy weight or a gym or build a muscular, injury-resistant back.
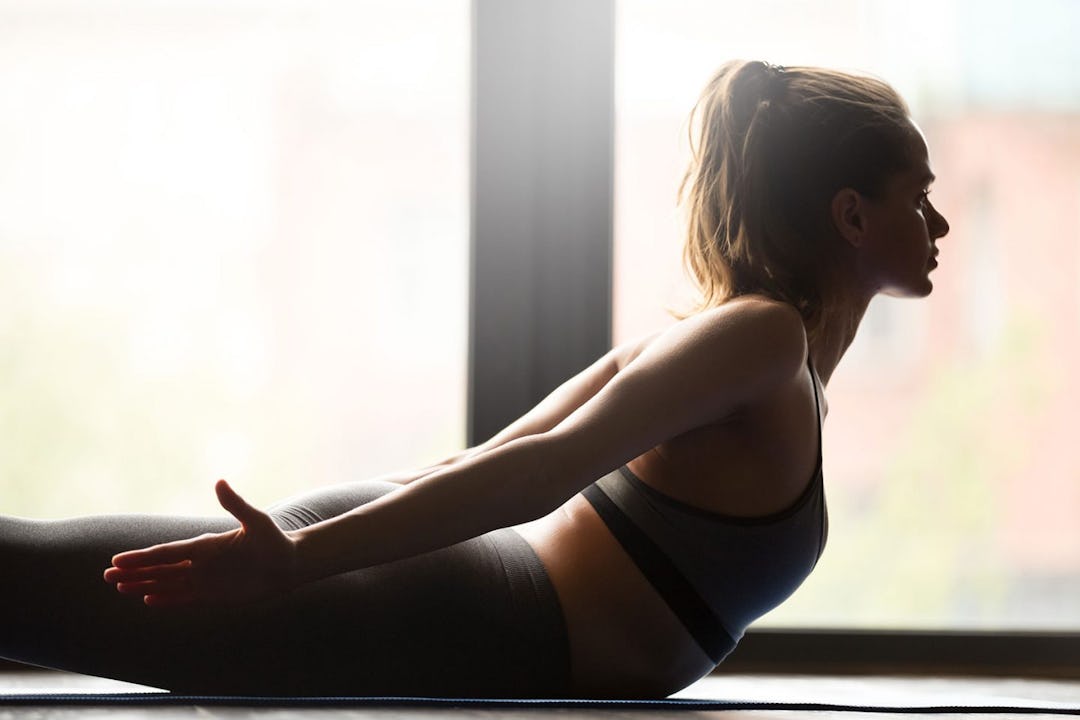
How To Stretch Before Working Your Back
Use the following warmup drills to mobilize your back before training.
At–Home Bodyweight Back Workout
This workout makes use of slow tempos and isometric holds. That is, you’ll often control the eccentric (negative) portion of each rep and pause at certain points in the exercise’s range of motion. This creates more tension in the muscles than powering through your reps with momentum (as most people do), which leads to more fatigue and growth stimulus. It also reinforces good technique. You have to be mindful and intentional of every movement you do. As a result, you’ll gain stability and control over your shoulders, back, and core, which will have carryover to any training you may do in the future. Don’t be surprised if you see your posture improve as well. A stronger back retracts the shoulders naturally, which automatically makes your chest look bigger, and contributes to an overall more confident-looking appearance.
Directions: Perform the exercises as straight sets, completing all the prescribed sets for one movement before moving on to the next.
1 Wide-Grip Pushup With Tempo
Sets: 5 Reps: 5 Rest: 75–90 sec.
Step 1. Get into pushup position with your hands outside shoulder width. Tuck your pelvis slightly so that your hips are perpendicular to the floor. Your body should form a straight line from your head to your feet. Brace your core.
Step 2. Take 5 seconds to lower your body. Think about actively pulling your body toward the floor with your lats. When your chest is about an inch above the floor, hold the position with your core braced for 5 seconds.
Step 3. Take 5 seconds to push yourself back up to the starting position. That’s one rep.
2 Split-Stance Row Iso Hold with Towel
Sets: 4 Reps: Work for 20 sec. (each side) Rest: 90 sec.
Step 1. Tie a knot on one end of a towel or T-shirt and stand on that end to pin it down. Stagger your stance and grasp the free end of the towel with the hand that’s opposite the foot standing on it. Bend your hips back so that your torso forms a long line from your head to your hips. Brace your core.
Step 2. Row the towel toward your hip. It won’t move much, but pull it as hard as you can. Keep your shoulders square to the floor and create tension throughout your torso. Maintain the row and the tension for 20 seconds, and then switch arms and immediately repeat on the opposite side.
3 Off-set Bent-over Row with Broomstick
Sets: 4 Reps: 15 (each side) Rest: 60 sec
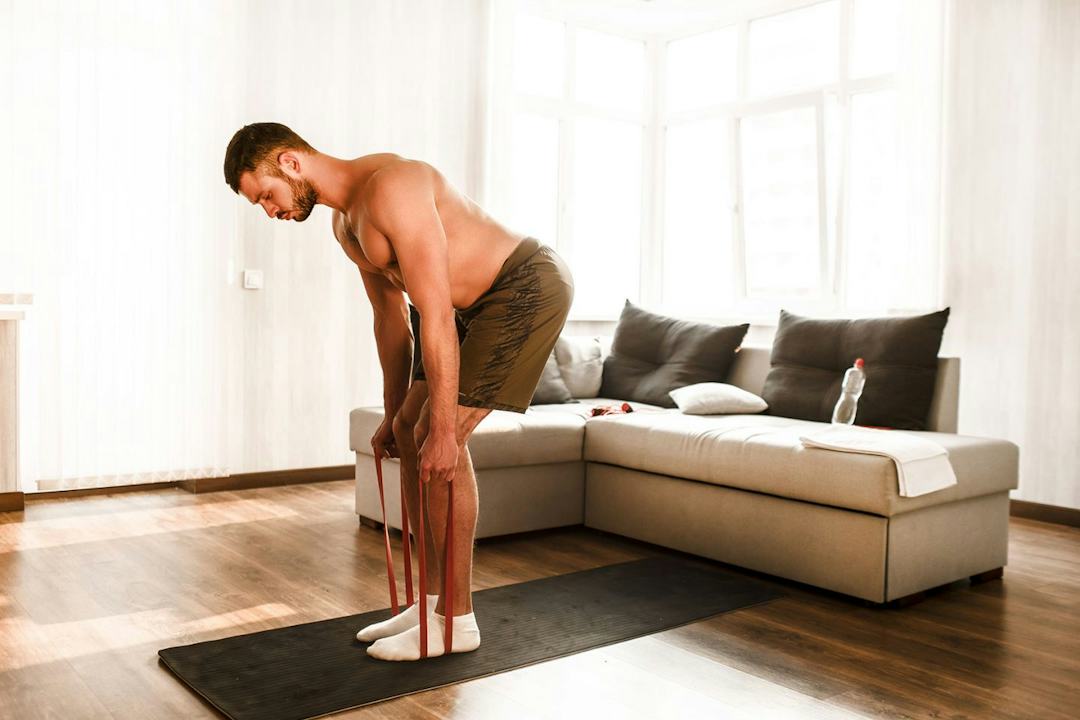
Step 1. Load a barbell, broomstick, or other long bar unevenly, so there’s some weight on one end and nothing on the other side. (Water jugs will work fine.) Grasp the bar with hands shoulder width and stand with feet shoulder-width apart. Keeping your head, spine, and pelvis in a long line, bend your hips back with soft knees until you feel a stretch in your hamstrings and your torso is nearly parallel to the floor. Draw your shoulders back and down—think: “proud chest.”
Step 2. Row the bar to your belly, being careful to keep the bar even in spite of the uneven load. When the bar touches your body, pause for 4 seconds, and then take 4 seconds to lower the bar back down. Squeeze your lats throughout the set. Complete your reps on that side, rest, and then repeat on the other side.
4 Plank Pull
Sets: 4 Reps: 30–45 sec. Rest: 60 sec.
Step 1. Get into pushup position with hands shoulder-width apart. Lower your body into the bottom of the pushup.
Step 2. Push your hips back toward your heels, and then reverse the motion, pulling your body back to the bottom of the pushup with your lats (as opposed to pushing with your legs). Stay low, and keep your body in a straight line throughout the movement, using your core to brace your body and keep your lower back flat. Perform reps for 30–45 seconds.
At-Home Back Workout With Light Dumbbells
Being limited to light weights is a great opportunity to practice stabilizing your body with unilateral exercises that knock it off balance. Throughout this workout, you’ll be fighting to keep alignment while the weight seeks to shift you out of place. Are you going to let a little old dumbbell do that to you? Especially if it’s a mere 10 or 15 pounds?
Whatever weight increments you have access to will be more than enough when you apply the techniques described here.
Directions: Perform the exercises marked A and B as supersets. So you’ll do one set of A, and then one set of B, before resting as directed. Repeat the superset until all sets are complete for both exercises. Perform the last exercise (the farmer hold) on its own.
1A Split-Stance Row
Sets: 4 Reps: 15 (each side) Rest: 0 sec.
Step 1. Hold a dumbbell in one hand and get into a split stance, as described in the split-stance row iso hold above. The hand holding the weight should be opposite of the foot that’s in front.
Step 2. Row the dumbbell to your hip, and then hold it in the top position 2 seconds. Take 4 seconds to lower it back down. Complete your reps on that side, and then switch sides and repeat.
1B Single-Leg Rear-Delt Fly
Sets: 3 Reps: 12–15 (each side) Rest: 75 sec.
Step 1. Hold a dumbbell in one hand and stand on the opposite leg. Keeping your head, spine, and pelvis in a straight line, bend your hips back until you feel a stretch in your hamstrings and your torso is nearly parallel to the floor. You can extend your free arm out to the side to help you balance.
Step 2. Raise the dumbbell out 90 degrees to your side, while drawing your shoulder down and back. Maintain your balance as you repeat the fly for reps. Afterward, repeat immediately on the opposite side.
If it’s too hard to balance, use a split stance instead, bending your rear big toe as much as possible.
2A Half-Kneeling Eccentric Press
Sets: 4 Reps: 6 (each side) Rest: 0 sec.
Step 1. Hold a dumbbell in one hand at shoulder level and get into a half-kneeling position with your rear knee on the floor. Both knees should be bent 90 degrees and your pelvis should be slightly tucked so it’s parallel to the floor. Brace your core.
Step 2. Press the weight up slowly and with full control (no momentum), and then take 10 seconds to lower it, actively pulling with your back to bring the weight down. Maintain your balance and avoid bending or twisting in any direction. Complete your reps on that side, and then switch sides and repeat.
2B Pullover
Sets: 4 Reps: 25 Rest: 75 sec.
Step 1. Lie on your back on the floor and hold a dumbbell with both hands over your chest. Tuck your pelvis so that your lower back is flat against the floor, and brace your core. Your knees should be bent 90 degrees, and your feet flat on the floor.
Step 2. Keeping your arms straight, reach your arms back behind your head until you feel a strong stretch in the lats. Your ribs will want to pop up, taking your lower back off the floor—keep your core braced so this doesn’t happen. Pull the weight back over your chest.
3 Farmer Hold
Reps: Work for 5–10 min.
Step 1. Load a duffle bag, backpack, or sandbag with as much weight as possible—30–50 pounds is ideal. Stand with feet hip-width apart, and pick up the bag with one hand.
Step 2. Hold the bag at your side for a few seconds, resisting any bending or twisting. Now heave it up to shoulder level and hold it. Transfer the bag to both hands and bear hug it to your body and hold. From there, pass the bag to the opposite hand at shoulder level and hold. Finally, lower the bag to your side and hold. Continue passing the bag back and forth for 5 minutes (set a timer to track it). Work to increase your time each time you repeat the workout until you can pass the bag around for 10 minutes, and then increase the weight of the bag.
)
